Unity PolySpatial Play To Device For visionOS Development Is Here!
Today, we're going to take a look at Unity's PolySpatial Play To Device, a feature of the Unity PolySpatial tools released last week. This tool facilitates accelerated development through fast iteration. But, what exactly is fast iteration? It involves developers making the smallest possible changes and giving devs the ability to quickly test them, eliminating the need to wait for extended periods, such as the minutes or even hours required for a complete new Unity build.
Unity PolySpatial Version Compatibility Matrix
This matrix (Fig 1.0) is really important to ensure that you have the correct versions. I experienced connectivity issues when I installed Play To Device 0.5 with 0.6 packages. To prevent those same problems, please refer to the following matrix:
Fig 1.0 - Compatibility Matrix
Fig 1.1 - PolySpatial Play To Device Input Settings
How To Setup Unity PolySpatial Play To Device?
First, review this blog post where I discuss the setup of the visionOS platform and PolySpatial dependencies. Additionally, I’m outlining the steps below to help you get going with the initial setup.
Use Unity 2022 LTS with visionOS experimental platform. Also, keep in mind that visionOS support is only available with Unity Pro or greater.
You’ll need the following visionOS packages installed in your Unity project, add each of them through the Unity package manager and click on “Add package by name…”.
com.unity.xr.visionos
com.unity.polyspatial
com.unity.polyspatial.visionos
com.unity.polyspatial.xr
The PolySpatial package itself provides an example called “Play To Device Input Settings“. Be sure to install it as it enables input to come from the Play to Device host app when the Editor is not in the foreground. (See Fig 1.1 above)
To open Play To Device in Unity, go to Window > PolySpatial > Play To Device, then dock this inspector window somewhere close as we will use it after configuring the “Play To Device Host” application in the simulator or physical device.
There’re two options to install the host application, let me walk you through both:
If you want to set it up in the visionOS simulator then use this link
Download the correct version based on the “Compatibility Matrix” above and to install it, then simply drag and drop it into the visionOS simulator.
To test it in the Physical Device then use this link
Open Testflight and accept the invitation based on the invite link above.
Open the “Play To Device Host” from either the sim or physical device and record the ip address.
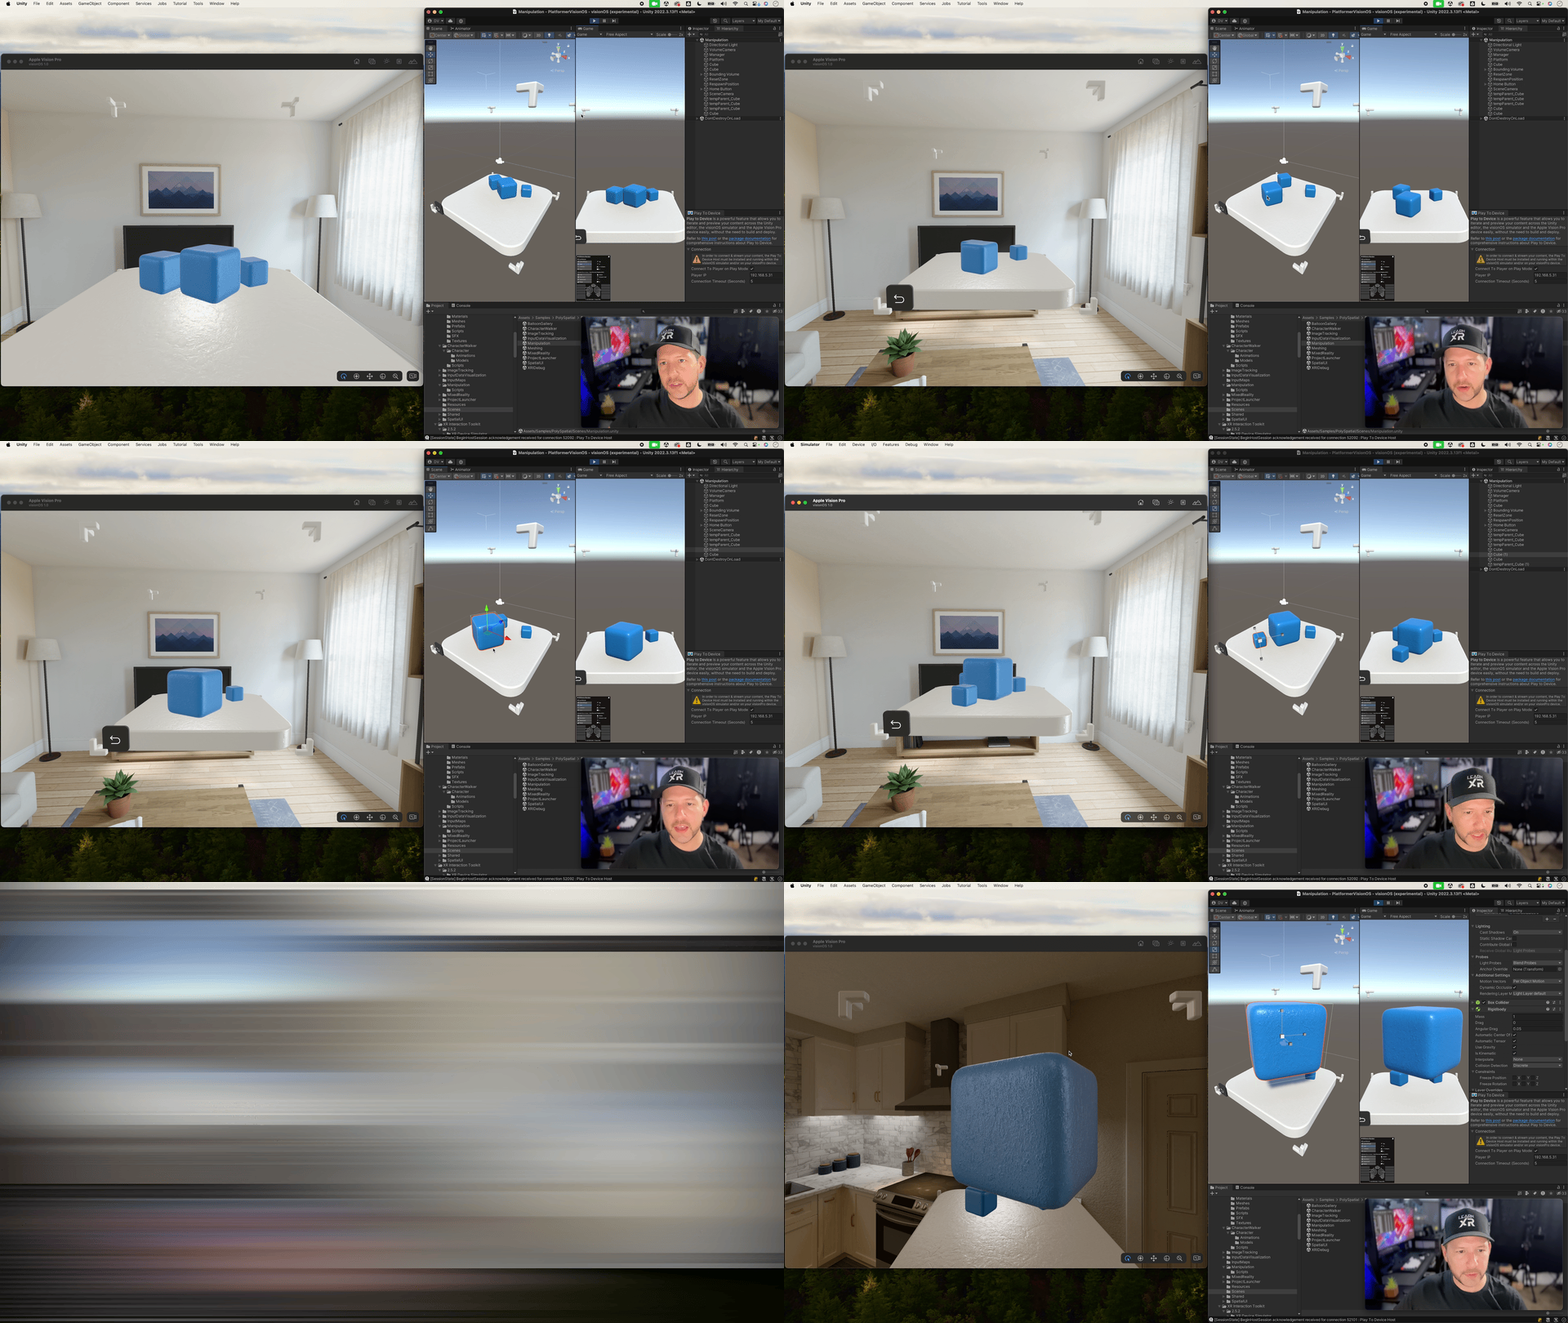
Now in Unity type the same ip address into the Play To Device inspector window and enable “Connect To Player on Play Mode”, then hit play in Unity. (See Fig 1.2 which shows you what to expect after following all prior steps)
Fig 1.2 - Unity PolySpatial Play To Device In Action
This shows you how easy is to test your visionOS Unity PolySpatial experiences right in the simulator and during Unity Play Mode. This is huge because it allows you to rapidly test your changes.
Issues with Play To Device?
There's a comprehensive list of reported issues when attempting to connect to Play To Device. If you encounter connectivity issues, refer to this FAQ, and let me know in the comments below, and I will try to help you. Typically, if you can't connect, it could mean there's a version mismatch, so I would recommend double-checking the Compatibility Matrix above. Alternatively, you may have a firewall blocking the connection from Unity to your simulator or physical device.
Unity PolySpatial Play To Device Resouces
📙 Here’re a few resources to supplement learning Unity PolySpatial including play to device tool mentioned today:
Unity PolySpatial Play To Device Host Download
Unity Version Compatibility Matrix
Play To Device host FAQ
Watch this video to help you with setting up Xcode & visionOS tools
Well, that’s all I have today guys, honestly this tool will help you a lot, I personally use AR Foundation Remote which is very similar to this and it has saved me hundreds and hundreds of hours by avoiding having to build on every single change.
Have a great day and thanks for reading!

