Getting Started with Apple’s Vision OS Development: Let’s Build A VisionOS App!
In today's post and video, I'd like to talk about my experience with building a visionOS application using Apple's native development tools. Yes, you heard that correctly, and no, it doesn't mean I am leaving Unity, which many people have asked me about. Unity has been amazing, and for now, I just want to concentrate on learning native visionOS tools before we see Unity PolySpatial availability open for everyone. So, back to this topic, let me answer a few questions: What is required to get started with visionOS development, and how can you create a fully immersive visionOS app or mixed reality visionOS app with the simulator?
Apple visionOS Developer Requirements:
First, let me list a few requirements below that you can freely download with an Apple account from developer.apple.com
Xcode Version 15 beta 8 or greater
visionOS Version 1 beta 3 Simulator Runtime or greater
Reality Composer Pro Version 1.0 (393.3) or greater (This is bundled with Xcode so there is not a separate installer)
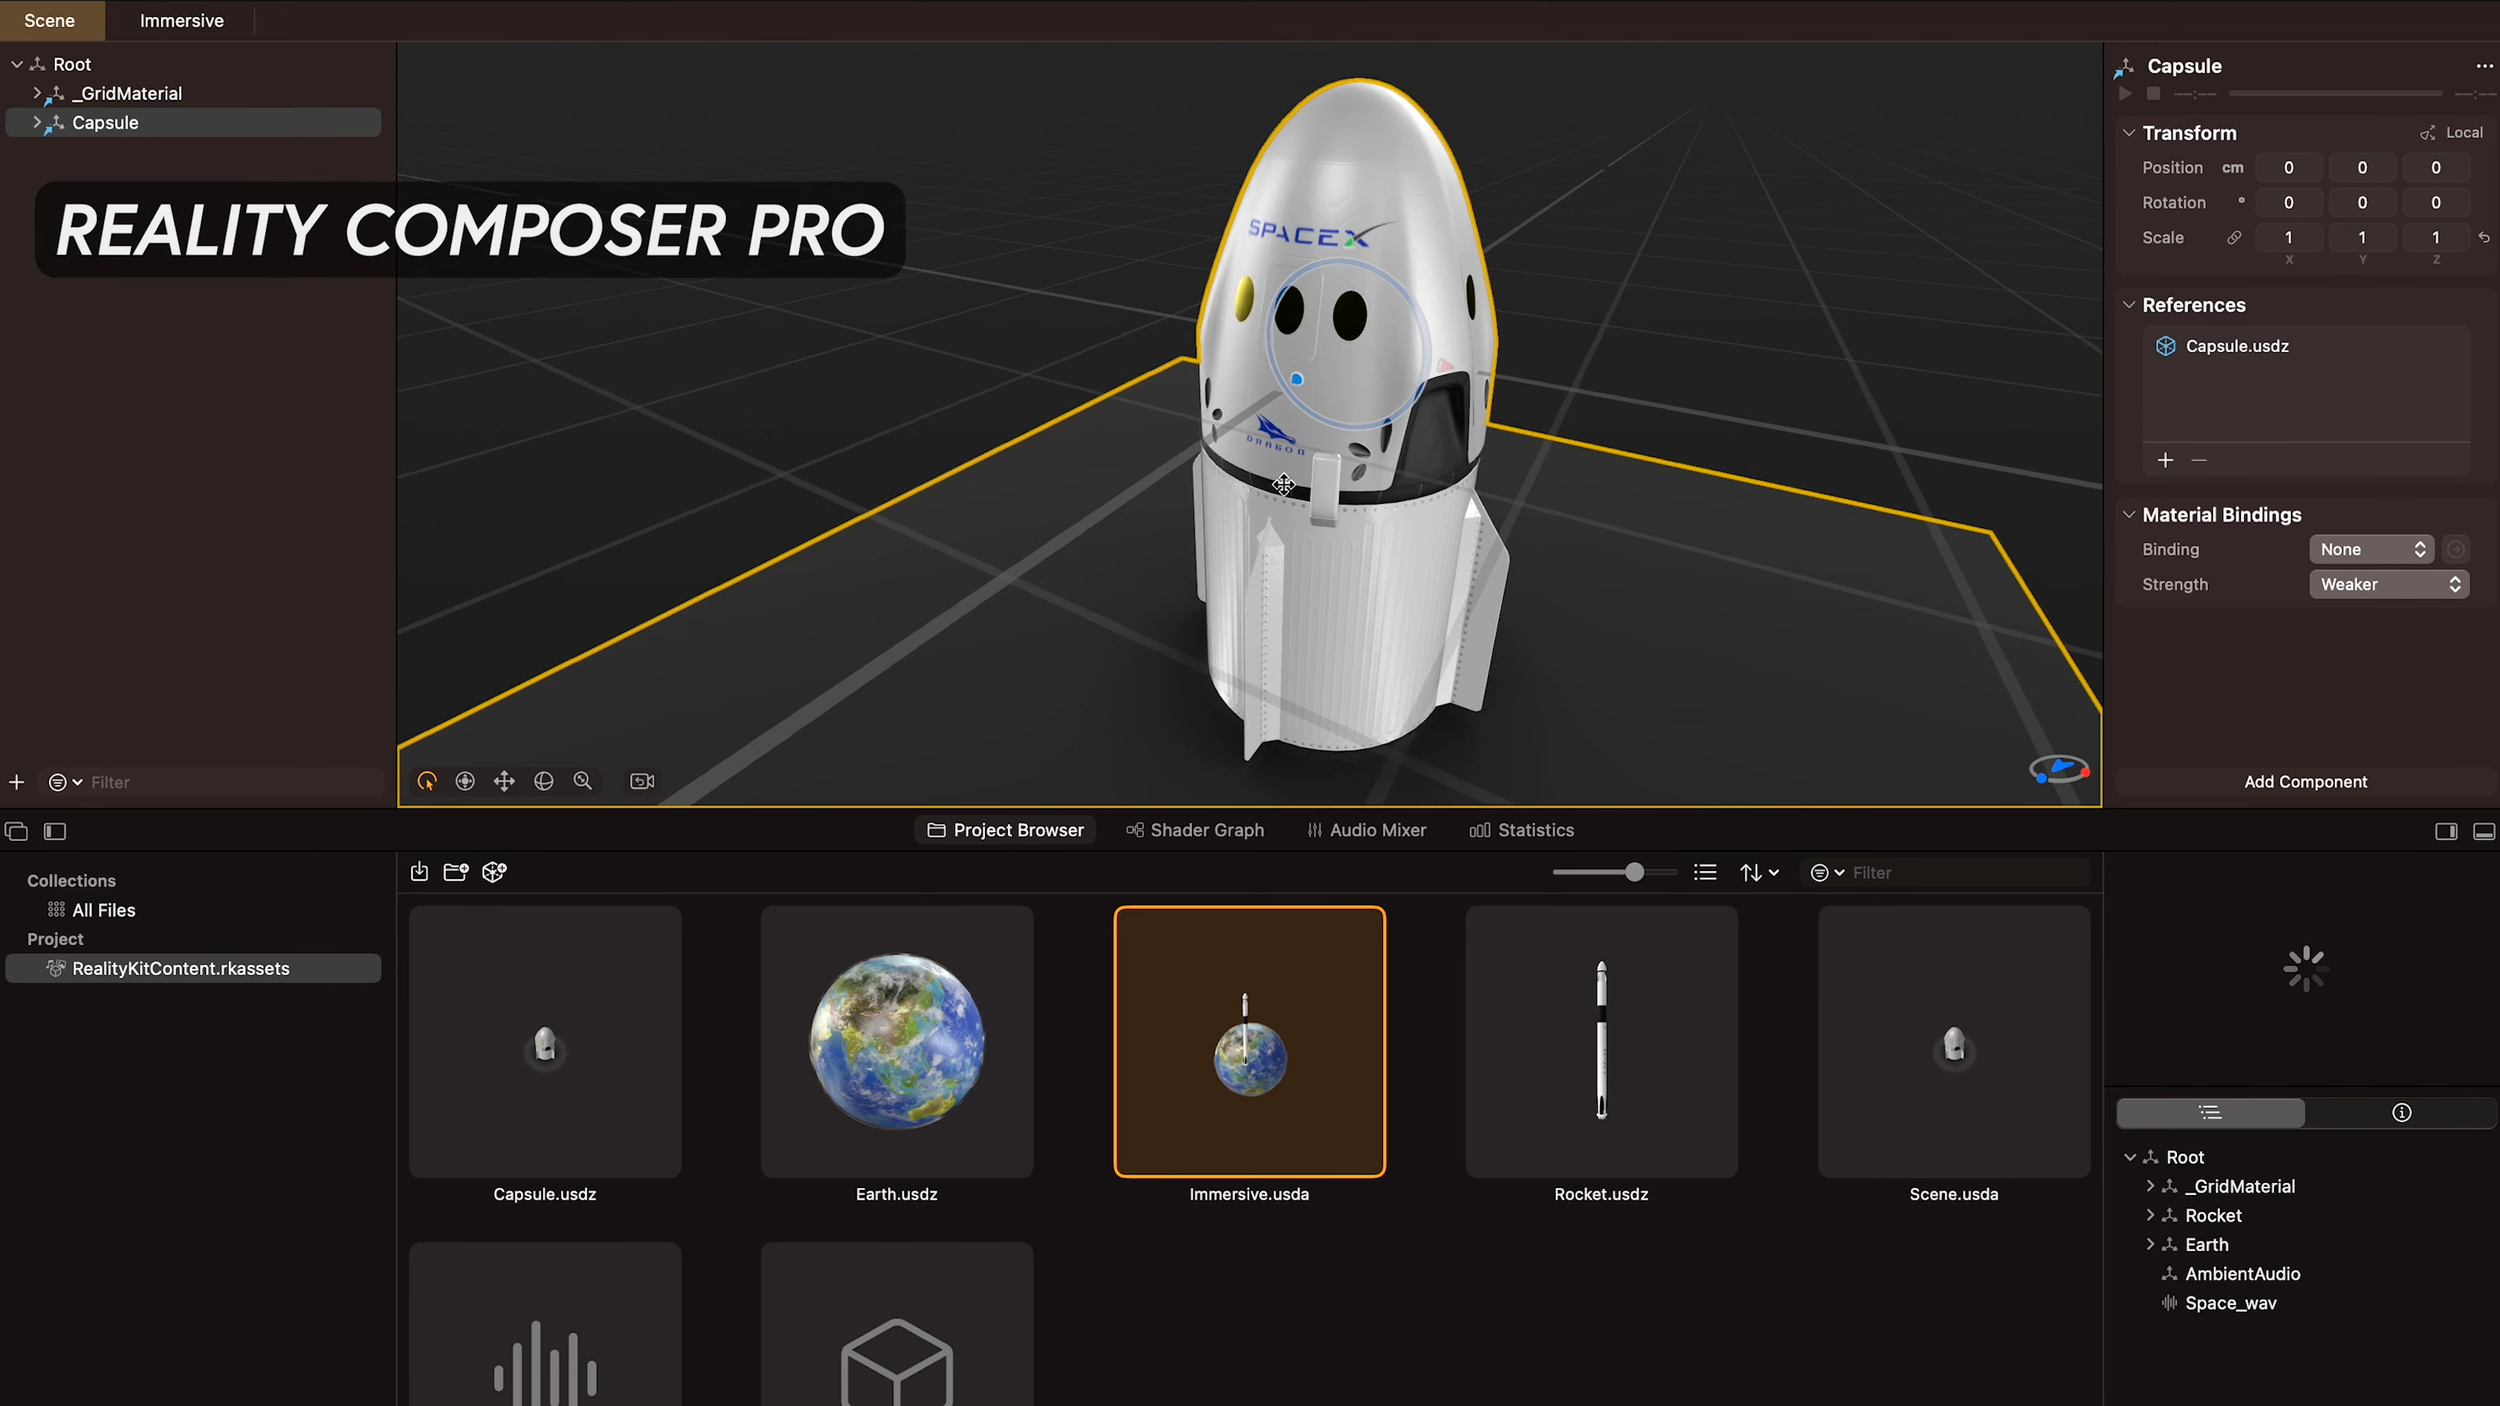
Additionally, I recommend using Sketchfab which provides a large variety of 3d models you can use to test your apps, or simply use the free built-in libraty available with Reality Composer Pro.
Lastly, if you prefer watching a step by step video on how to get all these tools setup and installed then take a look at this video
How To Create a visionOS Application?
Honestly, this is fairly easy. You can simply open Xcode, click on File > New > visionOS > app, and you'll be prompted to enter the following information, which I will explain below:

Fig 1.0 - Xcode VisionOS Project Options
Product Name: let’s do “Hello VisionOS World!"
Team: this would be the team based on your apple developer account, so you will need to login to Xcode with an apple dev account before you can proceed
Organization Identifier: ex. com.[companyName]
Bundle Identifier: ex:. com.[companyName].[appName]
Initial Scene: Window or Volume, here you can decide if you want to start with a 2D window or a volume (in which provides functionality to show a 3d model on a window)
Immersive Space Renderer: RealityKit or Metal, for now go with RealityKit
Immersive Space: Full, Mixed, Progressive, let’s pick full for now, but these are important to understand, I would suggest watching my visionOS SDK dev video to learn about how they differ from each other
Click Next, pick a project location, and then hit create to create your visionOS project

Fig 1.1 - VisionOS Hello World! App
import SwiftUI

@main
struct Hello_VisionOS_World_App: App {
    var body: some Scene {
        WindowGroup {
            ContentView()
        }

        ImmersiveSpace(id: "ImmersiveSpace") {
            ImmersiveView()
        }.immersionStyle(selection: .constant(.full), in: .full)
    }
}
So, that all looks good. But what's really going on in the entire project? Let me explain:
First, take a look at the file Hello_VisionOS_World_App.swift, which should be marked with @main. This serves as the entry point for your visionOS application.
If you examine anything under Scene {}, that's where we define the windows or immersive spaces for our app. In this case, we have a WindowGroup (which represents a 2D window) and an ImmersiveSpace (which indicates to visionOS that we want either a full immersive experience or a mixed reality experience).
ContentView() simply instructs that for our 2D window (WindowGroup), we should create a view of type ContentView.
ImmersiveView() does the same as step 3 but for ImmersiveView. Additionally, there's an additional function call that specifies the type of immersive experience we want (full or mixed).
- .full immersion style means we'll have a VR experience, with no rendering of the physical world.
- .mixed, as the name suggests, would be the opposite. In this case, we'll see our physical world overlaying 3D models.
I would also recommend looking at ContentView.swift and ImmersiveView.swift. Both inherit from View, and it's crucial to understand the difference between a regular window as created for ContentView and using a RealityView as generated with ImmersiveView.
How Can I Expand My VisionOS Dev Learning?
I would suggest watching my YouTube video titled VisionOS Development Fundamentals - BUILD A VisionOS App From Scratch where I cover the following areas and perhaps could answer some of the questions you may have right now.
Creating a new VisionOS project with Xcode.
Overview of VisionOS SDK tools in Xcode, including IDE panels, preview windows, and the simulator.
Understanding how to create basic windows with plain or glass styles.
How to create volumetric windows and differentiate between full immersive and mixed reality experiences.
Understanding how to use and code a navigation stack and navigation links.
Exploring available SwiftUI layouts such as VStack, HStack, and ZStack.
Understanding enums in Swift and creating a view model to manage your app's data.
Creating RealityKit RealityViews and interacting with Reality Composer Pro projects from Xcode.
Adding audio to RealityKit RealityViews during runtime.
Incorporating video using AVKit.framework into your SwiftUI views.


Thanks, everyone! Feel free to ask any questions in the comments below. Also, if you'd like to see more content on native visionOS development, please let me know.
Dilmer